Install a Modular Outdoor Room in 48 Hours
Creating an outdoor room once required weeks of construction. Prefabricated modular systems now allow homeowners to complete the project in two days. These structures expand living space with minimal disruption.
This guide covers how the systems function, what installation involves, and how to customize and maintain the result.
How Modular Outdoor Rooms Function
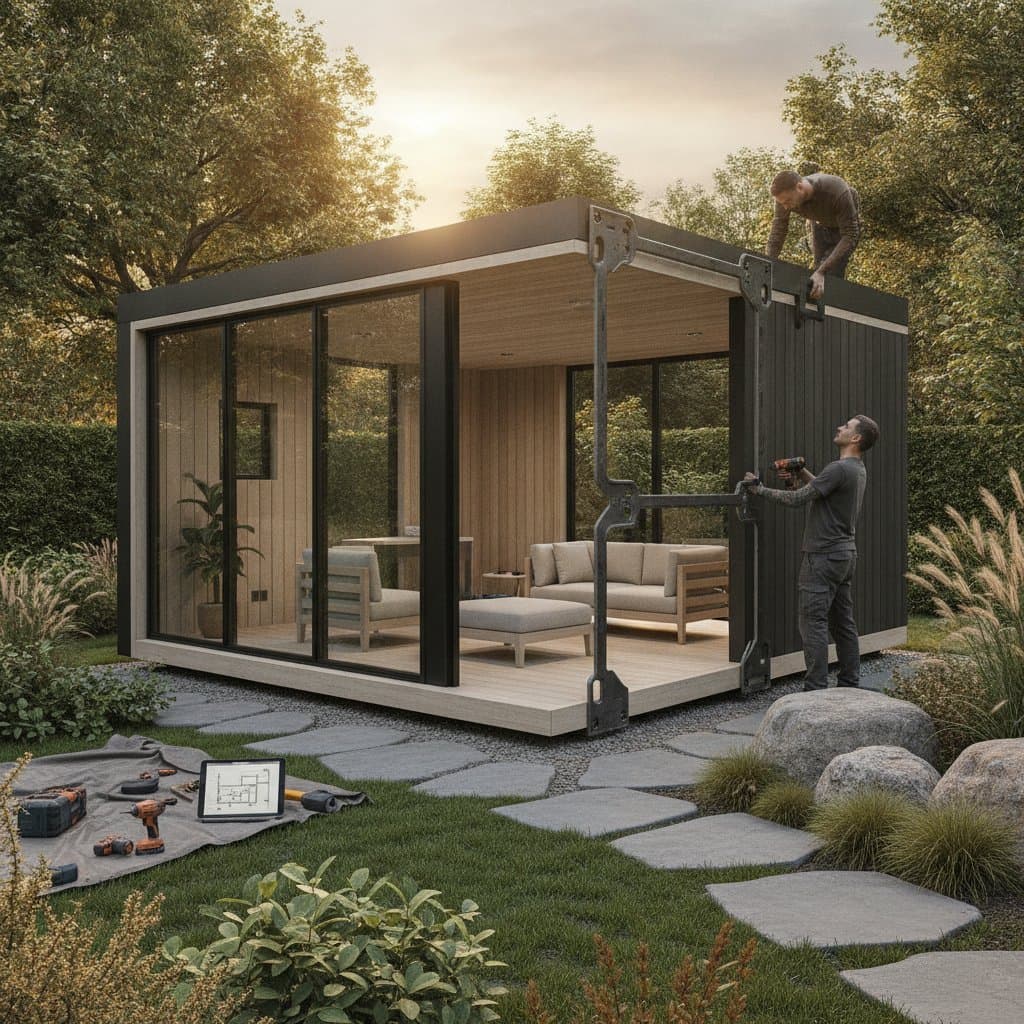
Modular outdoor rooms consist of factory-cut panels and frames shipped ready for assembly. Interlocking joints connect without extensive cutting or heavy equipment. A small team finishes the work with ordinary tools.
Typical components include integrated floor panels, insulated roof sections, weather-resistant surfaces, and channels for wiring. These features produce a finished space suited to year-round use.
Homeowners select the systems for rapid assembly, limited site disturbance, adaptable layouts, and durable construction.
Plan the Project
Successful installation begins with clear goals and site evaluation.
Identify the Intended Use
Decide whether the space will serve as a backyard office, dining area, exercise studio, or poolside retreat. The primary function determines required features such as insulation, ventilation, or shade elements.
Assess the Site
Measure the available area and note slope, drainage patterns, sun exposure, and access routes. Uneven ground may require a concrete pad or deck platform before assembly begins.
Set the Budget
Small open structures start at a few thousand dollars. Fully enclosed units with electrical service can reach several tens of thousands. Confirm that quotes cover shipping and labor.
Select Materials and Design
Choose frames and panels that withstand local weather. Aluminum resists corrosion. Composite surfaces replicate wood without moisture damage. Tempered glass or polycarbonate admits light while blocking wind.
Select an open pergola, a screened room, or a fully enclosed pod according to the planned activities. Verify that the style complements existing architecture.
Review customer feedback and warranty coverage. Confirm that replacement parts remain available.
Prepare for Assembly
Complete these steps to keep the two-day schedule on track.
- Clear vegetation and debris. Install a level base such as compacted gravel or a concrete slab if the soil is soft.
- Schedule delivery close to the assembly date and inspect all packages on arrival.
- Gather basic tools including a drill, level, and rubber mallet. Two to four people usually suffice.
- Read the manufacturer instructions for panel orientation and sealing procedures.
- Hire licensed electricians for any wiring or plumbing work.
Advantages of the Approach
Prefabricated construction reduces on-site waste and noise. The finished room can later accept additional sections as needs change. Many manufacturers incorporate recycled content, supporting sustainable building practices.
Care and Safety Practices
Inspect joints and seals several times each year. Clean surfaces with mild soap and water. Add portable shades in summer and heaters in cooler months. Protect all electrical components with outdoor-rated covers.
Common Questions
Most kits assemble in two days once the site is prepared. Permit requirements vary by location and structure type. Quality systems include wind and weather ratings along with secure anchors. Foundations range from concrete slabs to treated decks. Insulation options exist for climate-controlled models. Many designs allow later disassembly if relocation becomes necessary.